How to DIY some cute horse stall name plates for only $1!

I have been wanting stall signs for our little horse barn but there was no way I was going to pay $25 each to have them made. That’s just crazy!
I found wooden plaques at the craft store for less than $1 each and went to town. These are the perfect easy horse stall name plates.
Get a cheap wooden plaque from the craft store
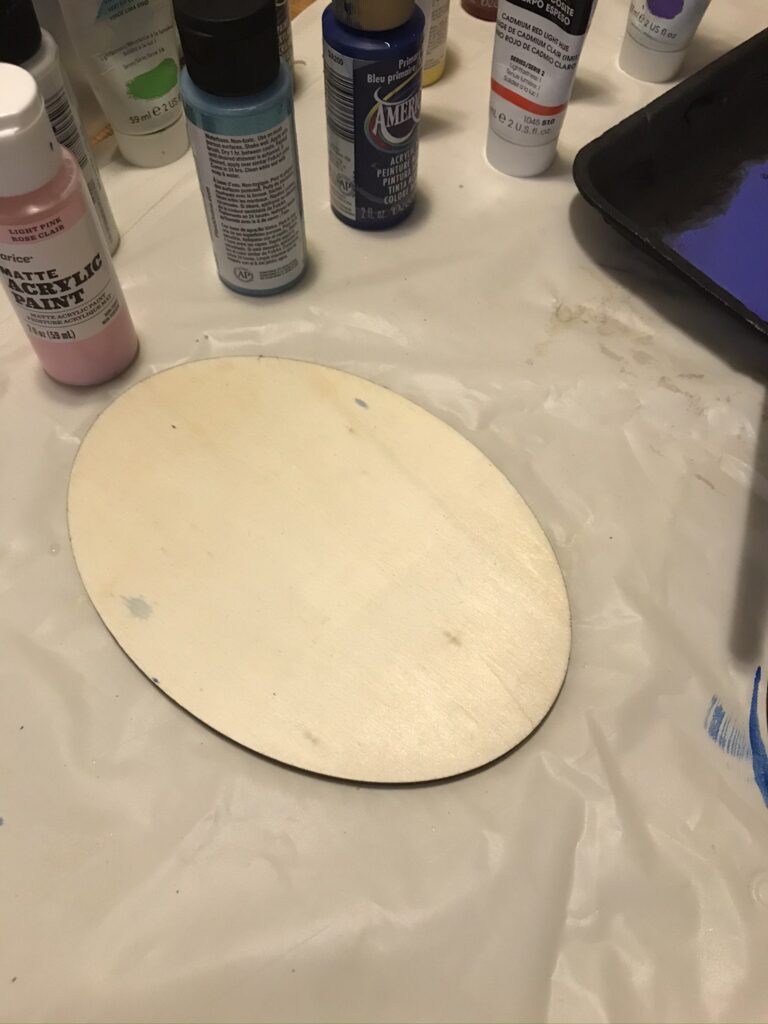
We made a trip to Michaels and found a bunch of options for pre-cut wooden plaques.
My daughter picked this oval plaque that measured roughly 6.5″ x 5″.
It was a good size for our stall doors. You can find thicker ones with beveled edges if you want to pay a little more.
With our coupon (always use a coupon at the craft store!) they cost 70 cents each. We bought three.
Get out the acrylic paints
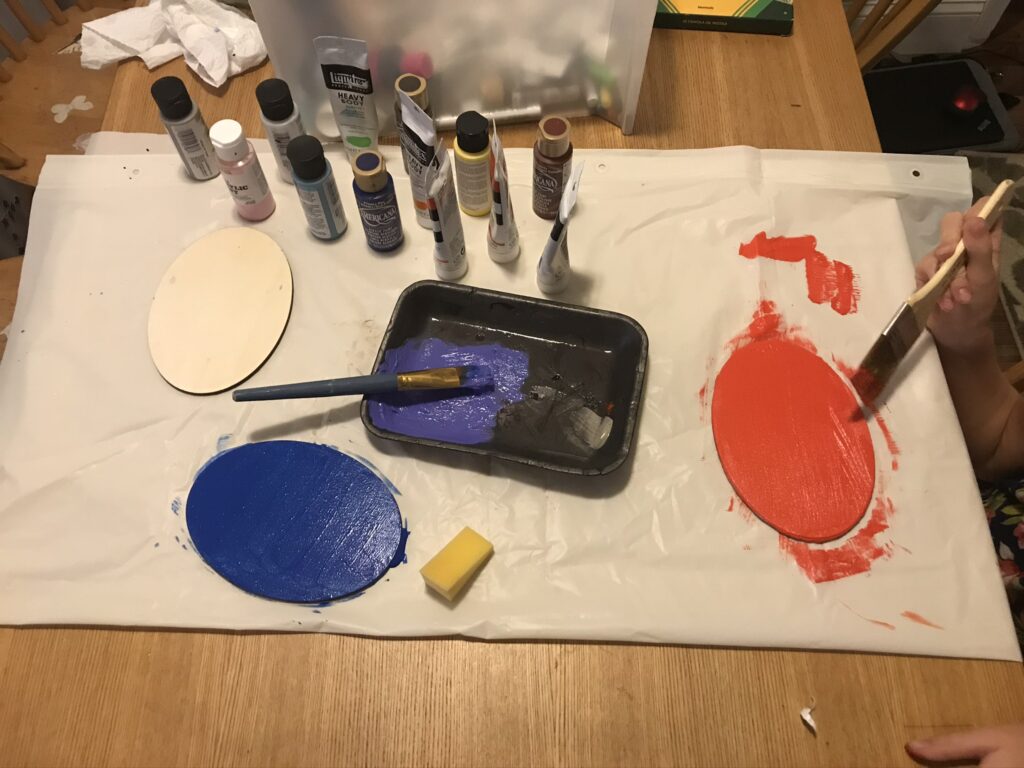
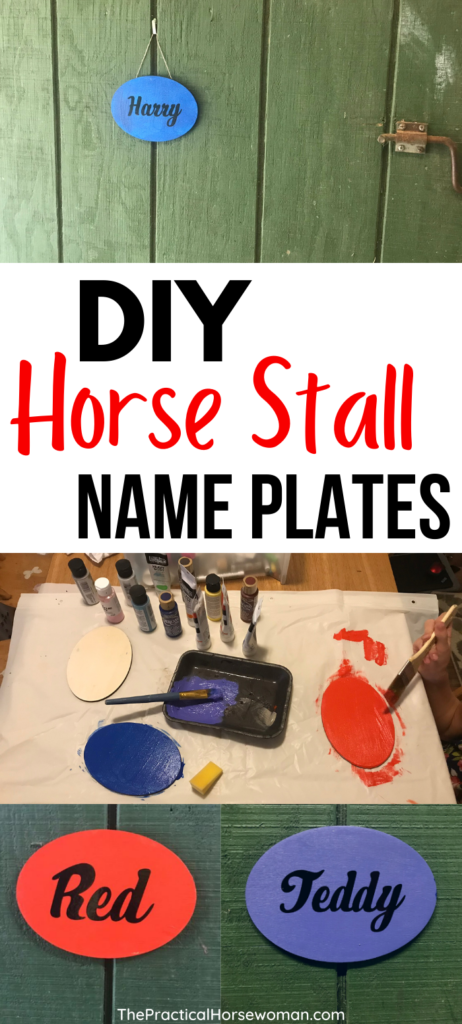
Next we dragged out our stash of acrylic craft paints.
If you have a certain color in mind you can buy a bottle of paint for less than $1 at Michaels.
We applied one coat and let it dry.
DIY Horse Stall Name Plates: Create names

I used my Cricut Joy and the Design Space program to create the names for the plaques.
I used permanent black vinyl and some transfer tape to move them to the signs.
If you don’t have a way to make the vinyl you could definitely use stencils and paint to get the names on the signs!
Attach twine with hot glue (optional)
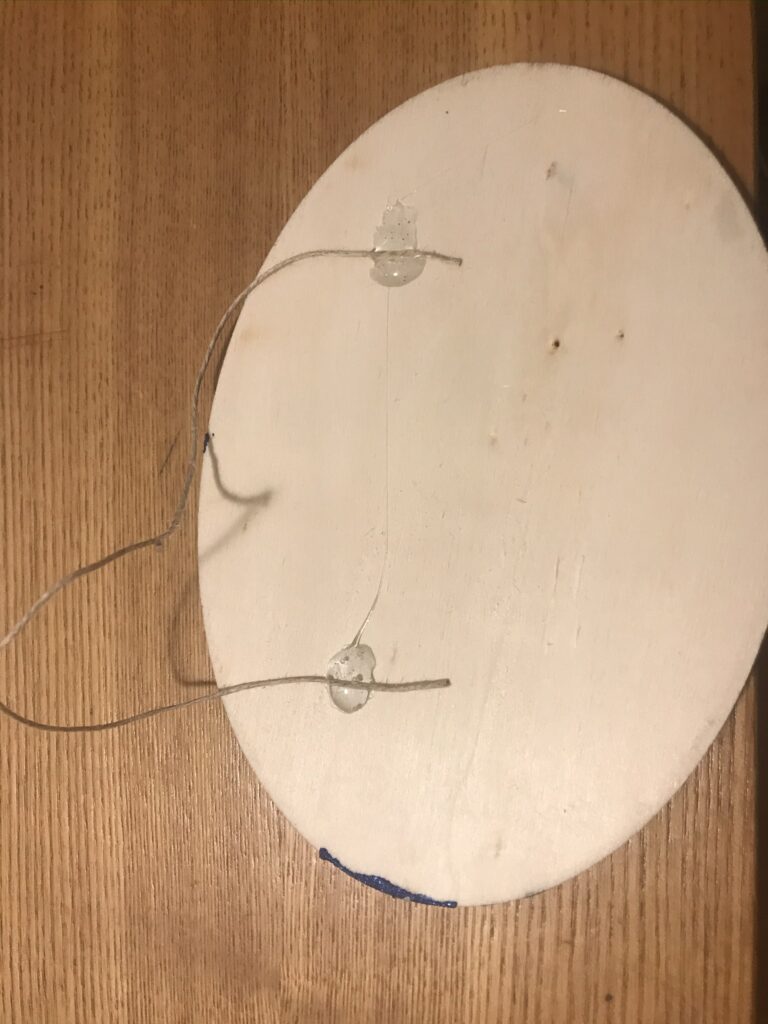
Since I wanted to see how the stall sign would look hanging, I attached a short piece of twine with hot glue.
You will definitely want to use high temp hot glue to fasten it securely.
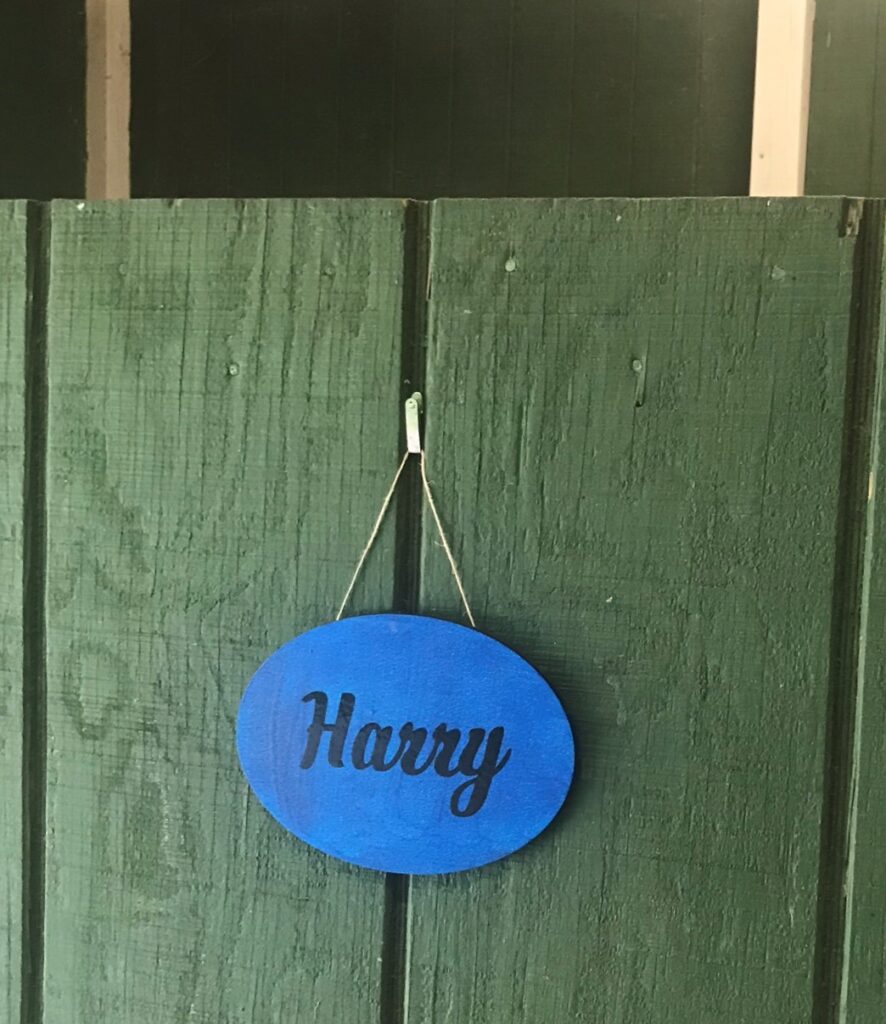
Here’s how the horse stall name plates looked hanging.
We decided to attach the other stall signs with high strength stick-ems instead of hanging them.
We ended up liking how they looked like this better than hanging and changed Harry’s sign.
It’s definitely just personal preference.
$1 DIY Horse Stall Name Plates Summary
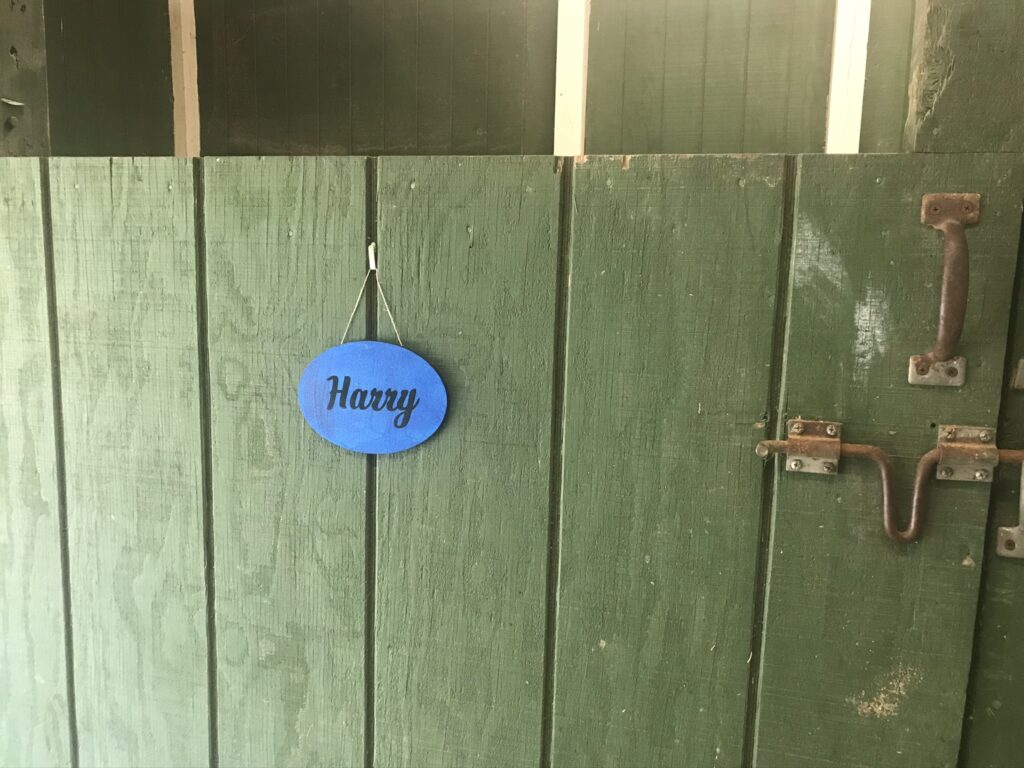
Our horses finally know which stall is theirs!
Any questions about creating your own DIY stall signs? Leave a comment below!


Leave a Reply